MySpeedo
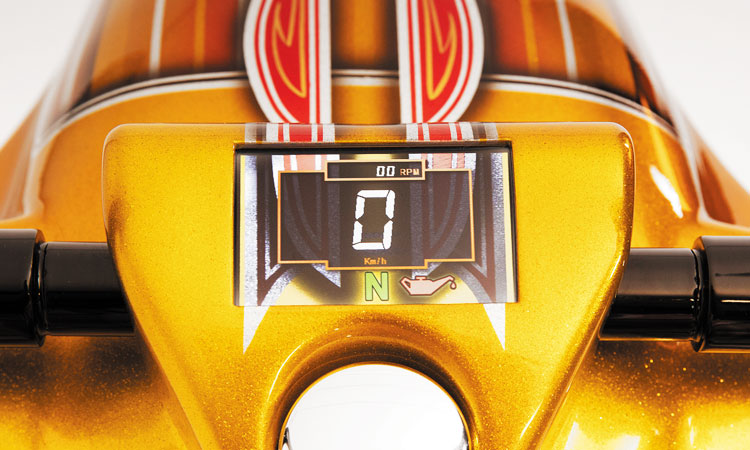
This speedo with an LCD touchscreen is something you may have seen on our 50th anniversary bike, the Gold Digger.
You can configure it with your own pics and designs to give your bike a real individual look. The control unit is separate from the LCD display, to allow a cleaner look.

The editor is easy-to-learn and free software, which you can download from the Nextion website: https://www.itead.cc/wiki/Nextion_HMI_Solution.
The display is a Nextion LCD touchscreen. You can use any screen from 2,4″ up to the 3,2″ screen that comes with ZPN 749513. To setup MySpeedo with your own pictures requires the Nextion HMI editor, a picture editor like PhotoShop, GIMP (free) or an online picture editing tool like PIXLR, and some basic image editing skills. You should be able to insert your own pictures on the display after 2 – 3 hours of reading and playing with the Nextion HMI display editor. Just make sure you follow the next 5 steps:
– Download and install the Nextion Editor from the website below:
https://www.itead.cc/wiki/Nextion_HMI_Solution
– Download and use sample 1 from Axel Joost, sample 2 from Robert Stiehler, or sample 3 from our Gold Digger custom bike as a starting point for your own design.
(For the complete project file of the Gold Digger tacho, including a Adobe Photoshop PSD file from all the illustrations were build and all the individual images, download the sample 3 ZIP-File)
– IMPORTANT : Use the IDs and names that are indicated in this XLS-File. These are the IDs that are used in the controller unit.
– You´ll need to have a micro sd card with a minimum capacity of 1 GB memory and format it in FAT32.
– Create your own JPEG-images with any kind of picture editor software like Adobe PhotoShop, GIMP (free) or an online picture editing tool like PIXLR,. Please make sure that the images will fit within the maximum LCD size of 320×240 or 400×240 pixels depending on what screen you have. Load your images in the Nextion editor and place them in the required position. Please make sure that your images have the same ID number as used in the sample HMI-files or indicated in this XLS-File.
– Compile the software in the Nextion editor and copy it on the sd card.
– Put the sd card in the slot of the LCD-display and power up the speedo with 12 Volt. Wait until the LCD screen has successfully loaded the new software and power off. Remove the sd card. That´s it. Now you have your own personal speedo 🙂
IMPORTANT NOTICE: The lcd display is not water resistant and you´ll need to take care for a water resist installation (rubber ring or slilicone at the borders of the glass). The control unit is water proof potted.
Here is a small installation manual (pdf)
Sample videos:


